For bare porous unpainted masonry substrates such as lime plaster, stone, pebbledash & concrete.
£5.00
£34.50
£60.00
For masonry substrates with previous masonry paint application.
£52.00
£86.00
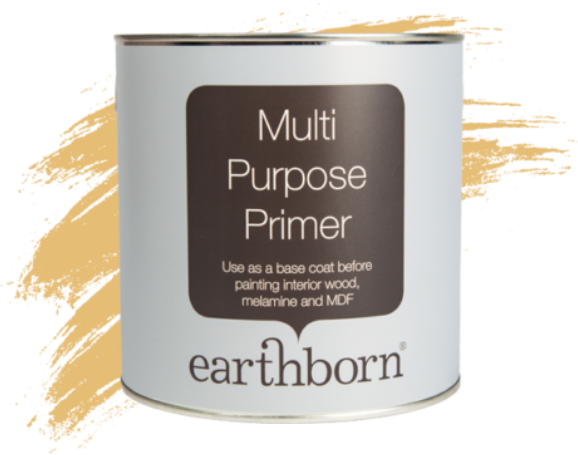
Earthborn Multi Purpose Primer provides a perfect base coat on interior wood, melamine and MDF surfaces.
£61.00
£22.99
As Halloween approaches, many of us are eager to unleash our creativity and bring some spooky charm to our homes. While carving pumpkins is a classic Halloween tradition, painting pumpkins offers an easier and artistic alternative. In this blog, we’ll guide you through the steps to paint pumpkins for Halloween, providing tips and ideas for crafting your very own Halloween masterpieces.
Before you embark on your pumpkin painting journey, gather the following materials:
Pumpkins: Select pumpkins of various sizes and shapes to create a visually interesting display.
Paints: Leftover paint or our Claypaint sample pots are great, they adhere well to pumpkins and dry quickly and are a good way to use up any leftover paint.
Paintbrushes: Invest in a variety of paintbrush sizes for different details and techniques.
Water and a Palette: You’ll need water to rinse your brushes and a palette to mix colours.
Paper Towels: For blotting excess water and paint.
Stencils (optional): If you’re not confident in your freehand painting skills, stencils can be a helpful tool.
Clean and Prepare the Pumpkins
Start by washing your pumpkins to remove any dirt and debris. Let them dry completely before moving on to the painting process.
Plan Your Design
Before diving in, think about the design you want to create. Classic pumpkin faces, spooky creatures, and whimsical designs are all great options.
Sketch your design on paper to get a sense of the colour scheme and details.
Base Coat
Depending on your design, you may want to apply a base coat to the pumpkin. White Clay or light colours work well for this step.
This base coat will help the other colours pop and adhere better.
Paint Your Design
Use your sketched design as a reference. Start with the larger areas and work your way to the smaller details.
Be patient and allow each layer to dry before adding more details.
Experiment with Techniques
Get creative with your painting techniques. You can use stippling for a textured effect, gradients for smooth transitions, or splatter paint for a spooky, chaotic look.
Add Highlights and Shadows
To make your design pop, add highlights and shadows using lighter and darker shades of the base colours. This will give your pumpkin depth and dimension.
Let It Dry
After completing your masterpiece, let the paint dry thoroughly. This may take a few hours, depending on the thickness of the paint.
Painting pumpkins for Halloween is a fantastic way to showcase your creativity and add a personal touch to your holiday decorations.
Whether you go for classic faces or intricate designs, your painted pumpkins will undoubtedly bring a festive and artistic flair to your Halloween celebrations.
So, gather your supplies, follow these steps, and let your imagination run wild as you transform ordinary pumpkins into spook-tacular works of art!